Begin with the cable's condition
Disconnect the cable by its connector housing, releasing any latch as required, rather than pulling on the jacket. Lay it out in a clear area and look for cuts, crushed sections or a loose connector. Keep a suspect lead separate from the working collection and mark the problem so it is not returned to use by mistake.
Wipe the exterior only in the way permitted for that cable and let it dry before storage. Avoid winding grit from a floor into the coil. A quick inspection is especially useful after rehearsal, when a lead may have been trapped beneath a stand or pulled across a doorway without the damage being noticed immediately.
Let broad loops follow the cable
Choose a coil size that respects the manufacturer's minimum bend guidance and the cable's natural flexibility. Do not force a stiff lead into a tiny ring. Work along the cable instead of twisting the entire length around your elbow, and release a developing twist rather than hiding it inside the next loop.
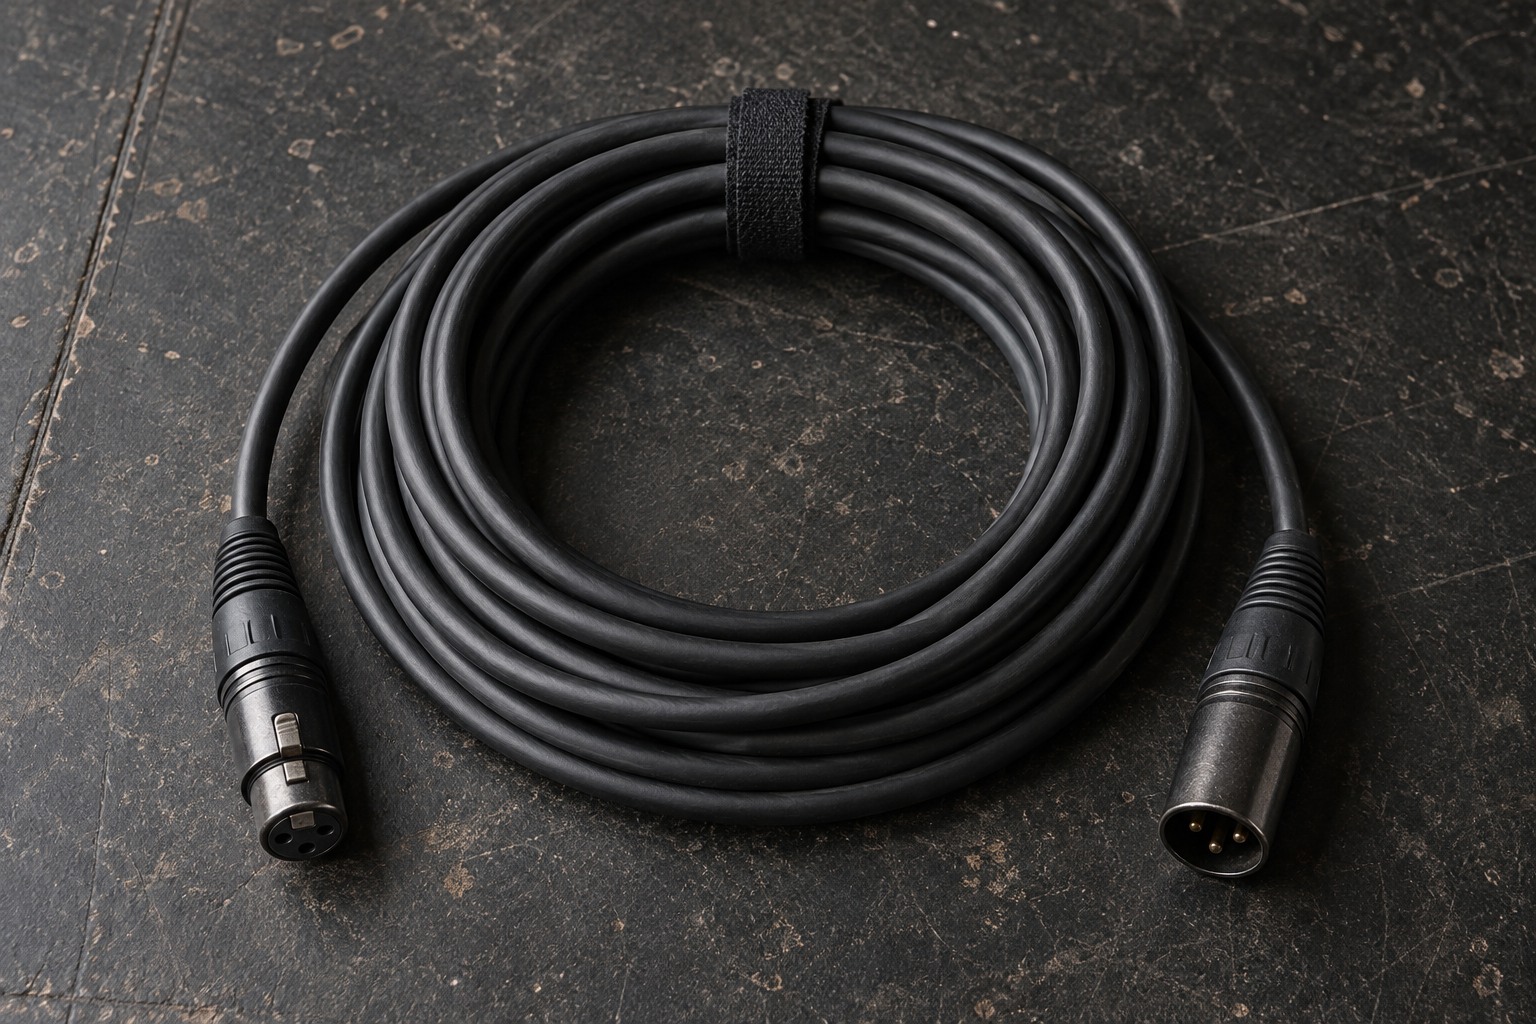
If you use an over-under technique, learn the movement on an ordinary detached cable and check that the finished coil deploys cleanly. The method should not involve sharp bends at the connectors. A different cable construction may need its own handling instructions, particularly for specialized or permanently installed leads.
Keep the connector ends accessible and avoid using one connector as a weight to tighten the bundle. Leave a gentle transition from the coil to the strain relief. When the lead is unpacked, place the coil down and let it open in a controlled way rather than dragging one end through a stack of equipment.
Secure without squeezing
Use a reusable tie that is long enough to close around the coil without compressing it tightly. A soft hook-and-loop strap can remain with the cable, but position it where it does not interfere with the connector or catch nearby fabric. Remove any sharp or damaged tie from the collection.
Store coils where heavy equipment will not crush them. Separate very short patch leads from long microphone cables so that finding one does not unravel the whole bag. Label the length and intended role if several cables have the same jacket color, keeping the label clear of the grip and latch.
Uncoil a newly purchased lead and try the route it must cover before relying on it for a session. A cable that is just long enough under tension is not a comfortable fit for a moving microphone stand. The storage routine works best when the cable also has suitable length and slack during use.