Build an inventory from the manuals
For every pedal, record the required voltage, whether it uses AC or DC, the connector dimensions, polarity where applicable and the required current. Copy those details from the pedal's label and official documentation. If they disagree or a used pedal has no clear identification, resolve that uncertainty with the maker before connecting a supply.
Do not assume all compact pedals accept a familiar 9-volt adapter. Some need a different voltage, reversed polarity, AC power or a proprietary arrangement. A cable that physically fits can still deliver the wrong electrical supply. Keep the specification list with the board so that a replacement pedal does not inherit the previous unit's connection by habit.
Voltage and current are different checks
Match the required voltage exactly unless the pedal manufacturer explicitly permits a range. A higher number is not an upgrade. Strymon's power guidance emphasizes checking voltage, polarity and current for each connected device. That principle is useful across a mixed board, but the detailed values must come from each pedal's own instructions.
The supply output must have sufficient current capacity for the pedal. Read both per-output limits and any shared total limit; a large total printed on the box does not mean every socket can supply that amount. If several pedals share an approved output arrangement, their combined demand matters. Allow for the manufacturer's stated requirement rather than estimating consumption from the enclosure size.
AC and DC are not interchangeable. Likewise, center-negative and center-positive DC connectors must not be confused. A polarity-reversing cable is a specific electrical accessory, not a general fix for an unknown connection. Label such a cable clearly and keep it with the intended pedal if the maker approves its use.
Isolation and cable layout
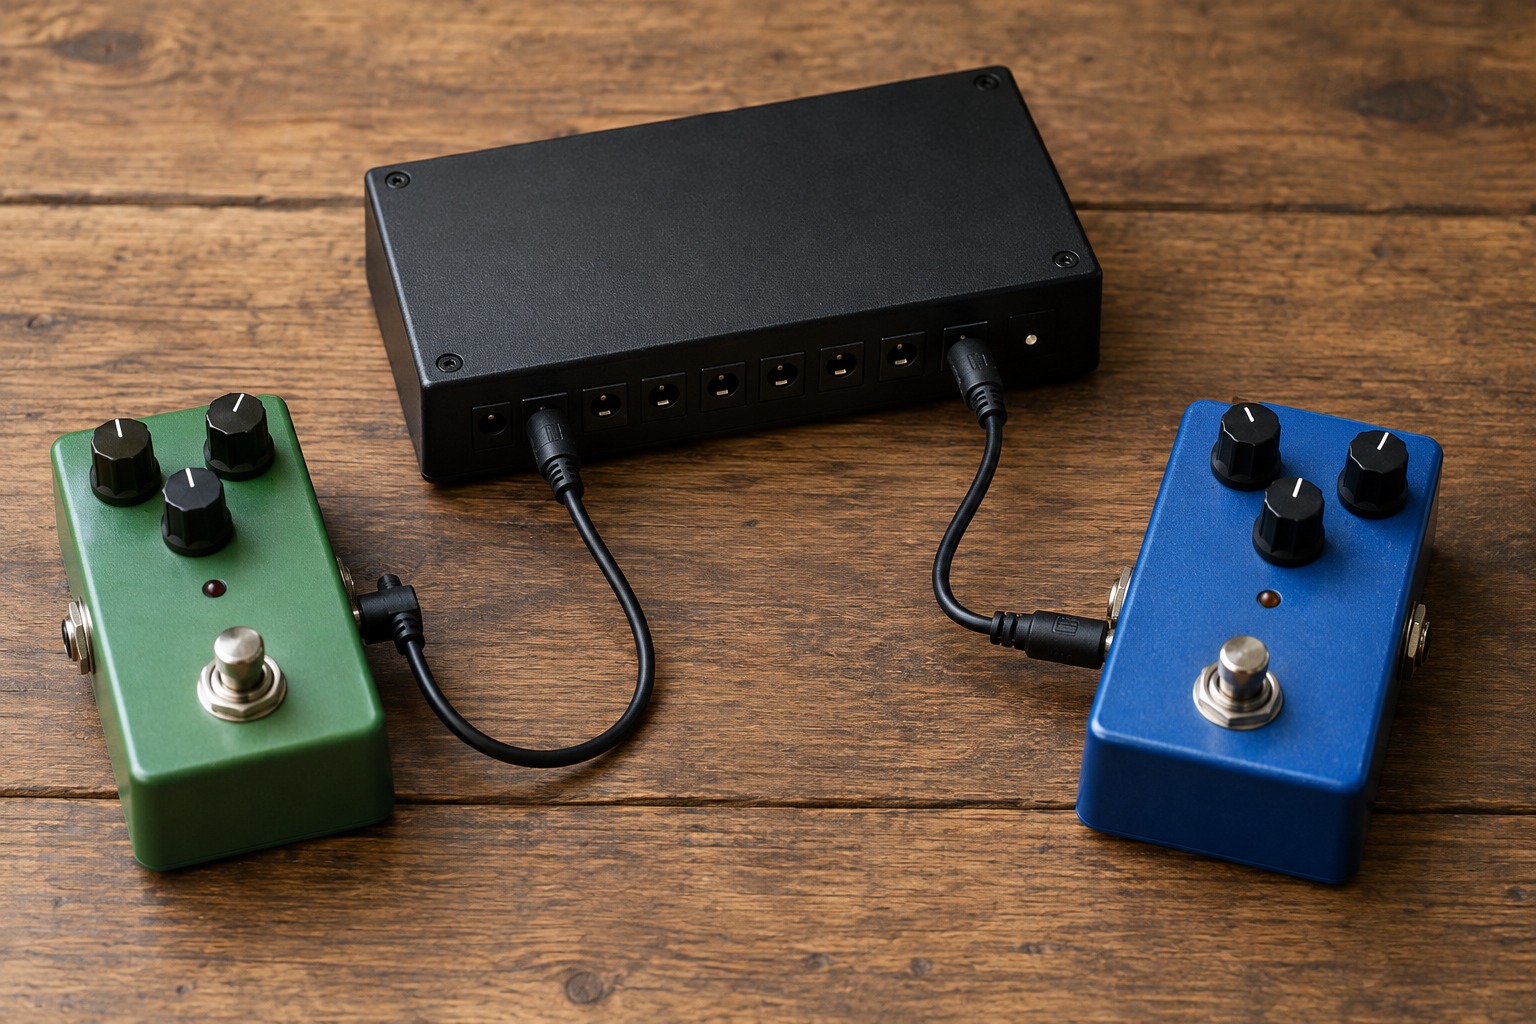
A daisy-chain cable shares a supply connection between pedals. An isolated multi-output supply provides a different arrangement, but read how the particular unit describes its outputs. Do not infer electrical isolation merely from several sockets on one enclosure. Compatibility and noise behavior can depend on the connected devices, so test the complete chain before mounting everything permanently.
Use cables with the required connector size and enough length to reach without tension. Keep power plugs from being pressed sideways by neighboring pedals. If an output voltage is switchable, make the setting visible and difficult to change accidentally during transport. A short label is preferable to remembering that one visually identical socket is different.
Make the first connection deliberately
With the equipment powered down, connect one known-compatible pedal and follow the supply and pedal startup instructions. Check its normal operation before adding the next device. This staged approach makes an incorrect cable or troublesome combination easier to identify than wiring a whole board and then guessing which connection caused the problem.
Stop if a device behaves unexpectedly, becomes unusually hot or does not operate as specified. Do not keep swapping adapters at random. Recheck the inventory and ask the manufacturer when necessary. Once the arrangement works, photograph the connections and record the output assignment. The result should be a repeatable power plan that another person could understand without experimenting.
A mixed-board example
Imagine a board with two pedals requiring the same DC voltage but different current capacities, plus a third requiring another voltage. The first two may fit separate ordinary outputs if every specification matches; the third needs an explicitly suitable output. A spare socket does not become suitable simply because the other outputs are occupied. Make the assignment on paper before running cables underneath the board.
If a new pedal replaces an old one, redo its row in the inventory. Check whether the cable is ordinary, polarity-reversing or part of an approved special arrangement. Reusing a cable by location can silently carry the previous pedal's electrical assumptions into the new setup. Keep unused special cables in a labeled bag rather than mixed with generic patch leads. This also makes troubleshooting at rehearsal less dependent on remembering how the board was assembled months earlier.