Identify the string before opening a packet
Record the instrument type, current string set and intended tuning. Check the gauge and construction recommended for the guitar. A spare that looks similar can still be unsuitable, and changing to a substantially different set may require setup work beyond replacing one broken string.
Keep the set's packaging or a photograph of its label with your instrument notes. If only one string needs replacing, identify its position and specification rather than relying on memory. Do not substitute a steel string on an instrument intended for nylon or assume all strings sold for acoustic guitars are interchangeable.
Match the tools to the hardware
Fender's electric-guitar restringing guide distinguishes modern and vintage tuning pegs and different bridge arrangements. This is why a single winding sequence should not be applied to every guitar. Find instructions covering the hardware actually fitted before loosening or removing a string.
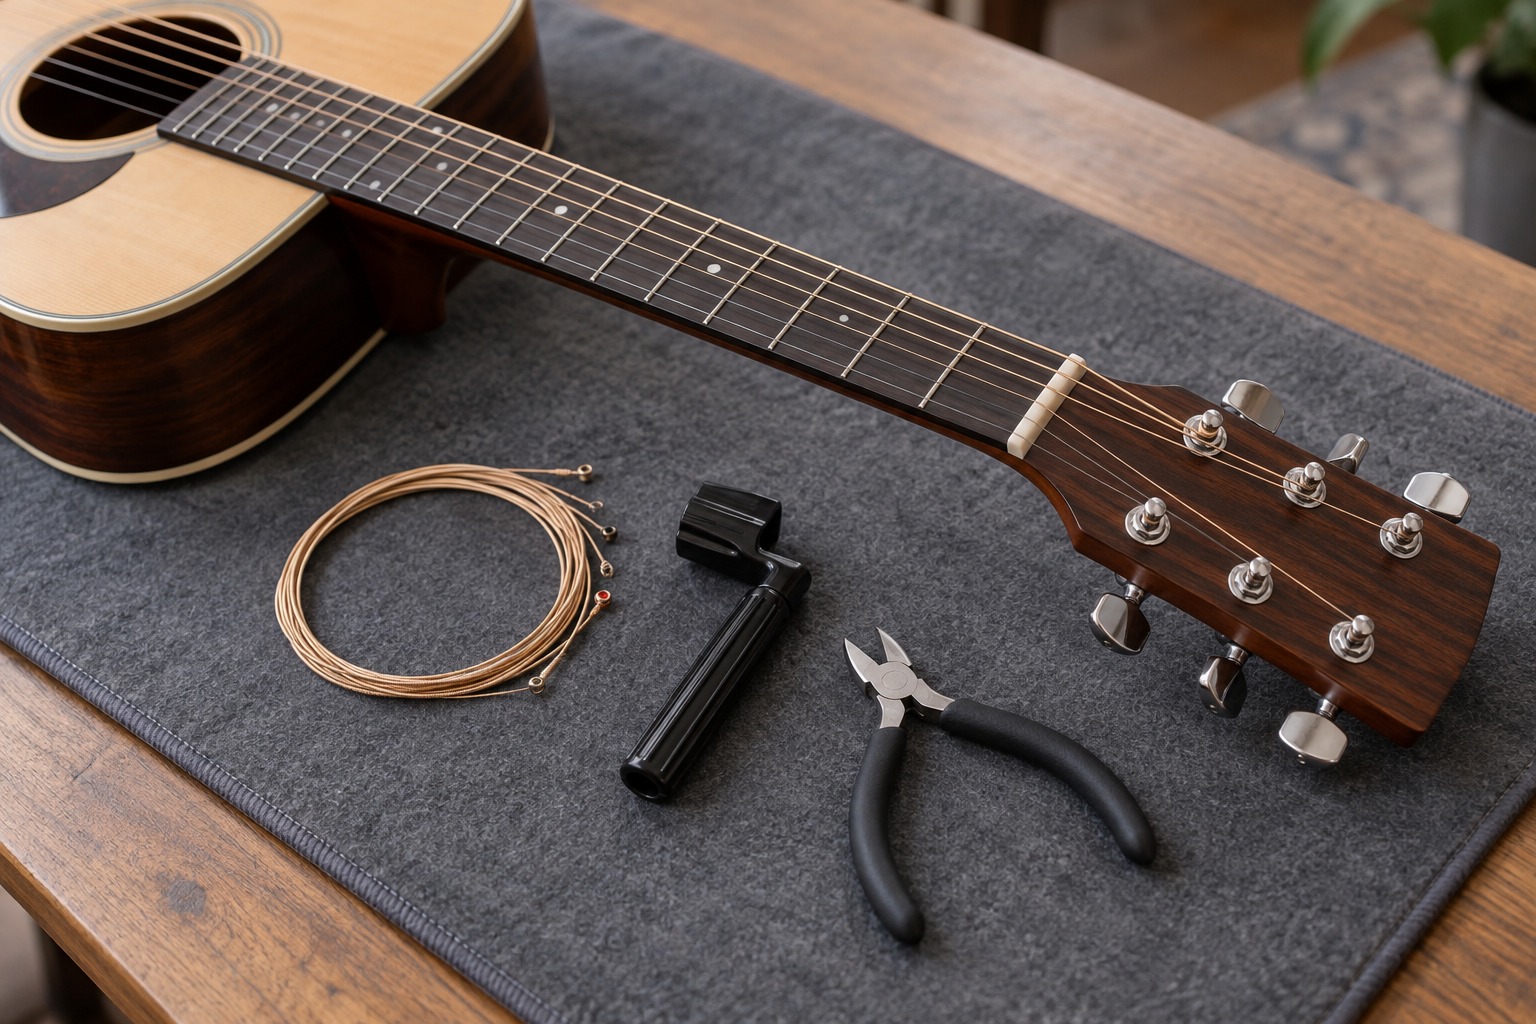
A suitable tuner is needed to bring the replacement to the intended pitch. A string winder may make the job easier if it fits the tuning button without hitting neighboring parts. Use a cutter intended for the string material, and keep sharp offcuts controlled rather than letting them fall into a case lining or onto the floor.
If the bridge uses pins, locks or another retention system, use the correct procedure and tool for that system. Do not lever against the guitar's finish with an improvised object. An unfamiliar floating bridge or locking arrangement is a good reason to get model-specific guidance before beginning, especially if the setup must remain stable for a rehearsal.
Prepare the working area
Support the instrument on a clean padded surface with the neck supported appropriately. Remove loose metal objects and keep the new string packet within reach. Arrange a container for removed strings and clipped ends so that the work area remains clear throughout the change.
Read the entire replacement procedure before starting. Note any model-specific requirement for changing strings individually, retaining hardware or leaving a particular amount of winding length. Do not cut a new string early simply because that worked on a different tuning post; some arrangements require a different sequence.
Check the finished job
Follow the manufacturer's method for seating, tuning and any initial settling of the new string. Inspect its path at the bridge and tuner and make sure the end is managed as directed. If the string will not seat correctly or the hardware moves unexpectedly, stop rather than increasing tension to force a result.
Keep the successful string specification in your notes and replace the spare you used. A repeated break at the same point may need inspection of the instrument rather than repeated purchases of the same string. A basic replacement kit should support the instructed task; it does not replace the knowledge needed for structural adjustments or a full setup.