Decide what the stereo recording should convey
A solo instrument may need a sense of width and room, while a layered arrangement may benefit from a more focused sound that leaves space for other parts. Two microphones are not automatically better than one. Make a short mono reference first so you have something concrete to compare with the stereo arrangement.
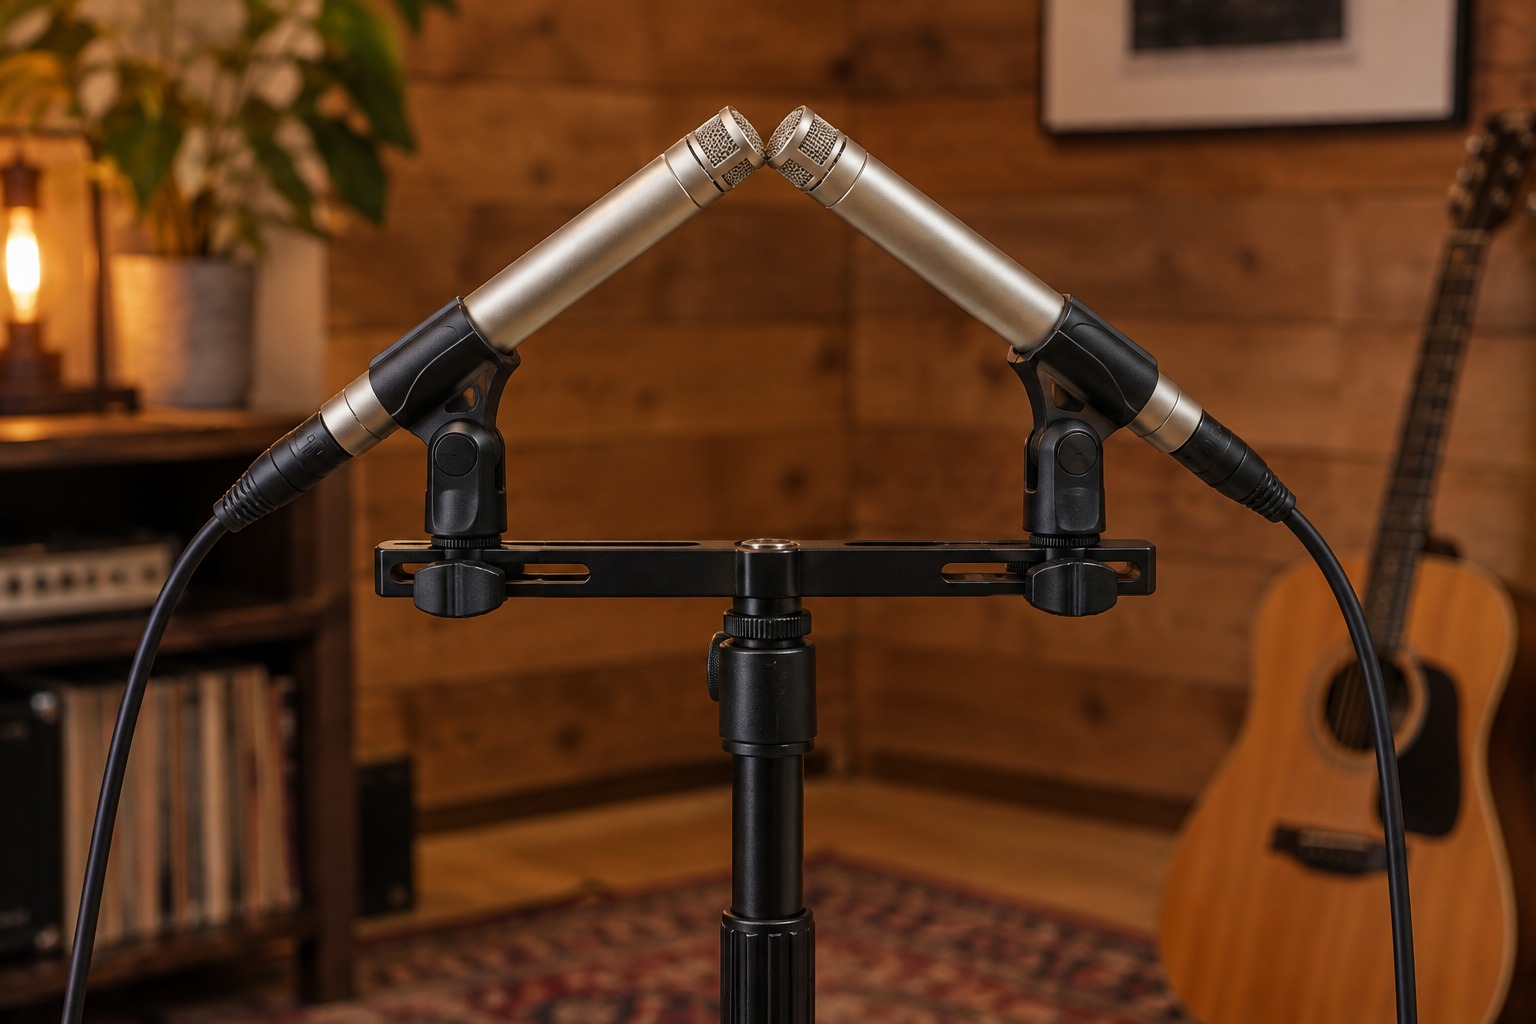
Yamaha’s stereo-miking guide describes several approaches, including an XY arrangement with microphone capsules placed close together and angled apart. That is a different setup from a widely spaced pair. Follow a clear diagram for the chosen technique and check the microphone patterns it requires. Do not combine distances and angles from unrelated methods without understanding the change.
Keep the two channels identifiable
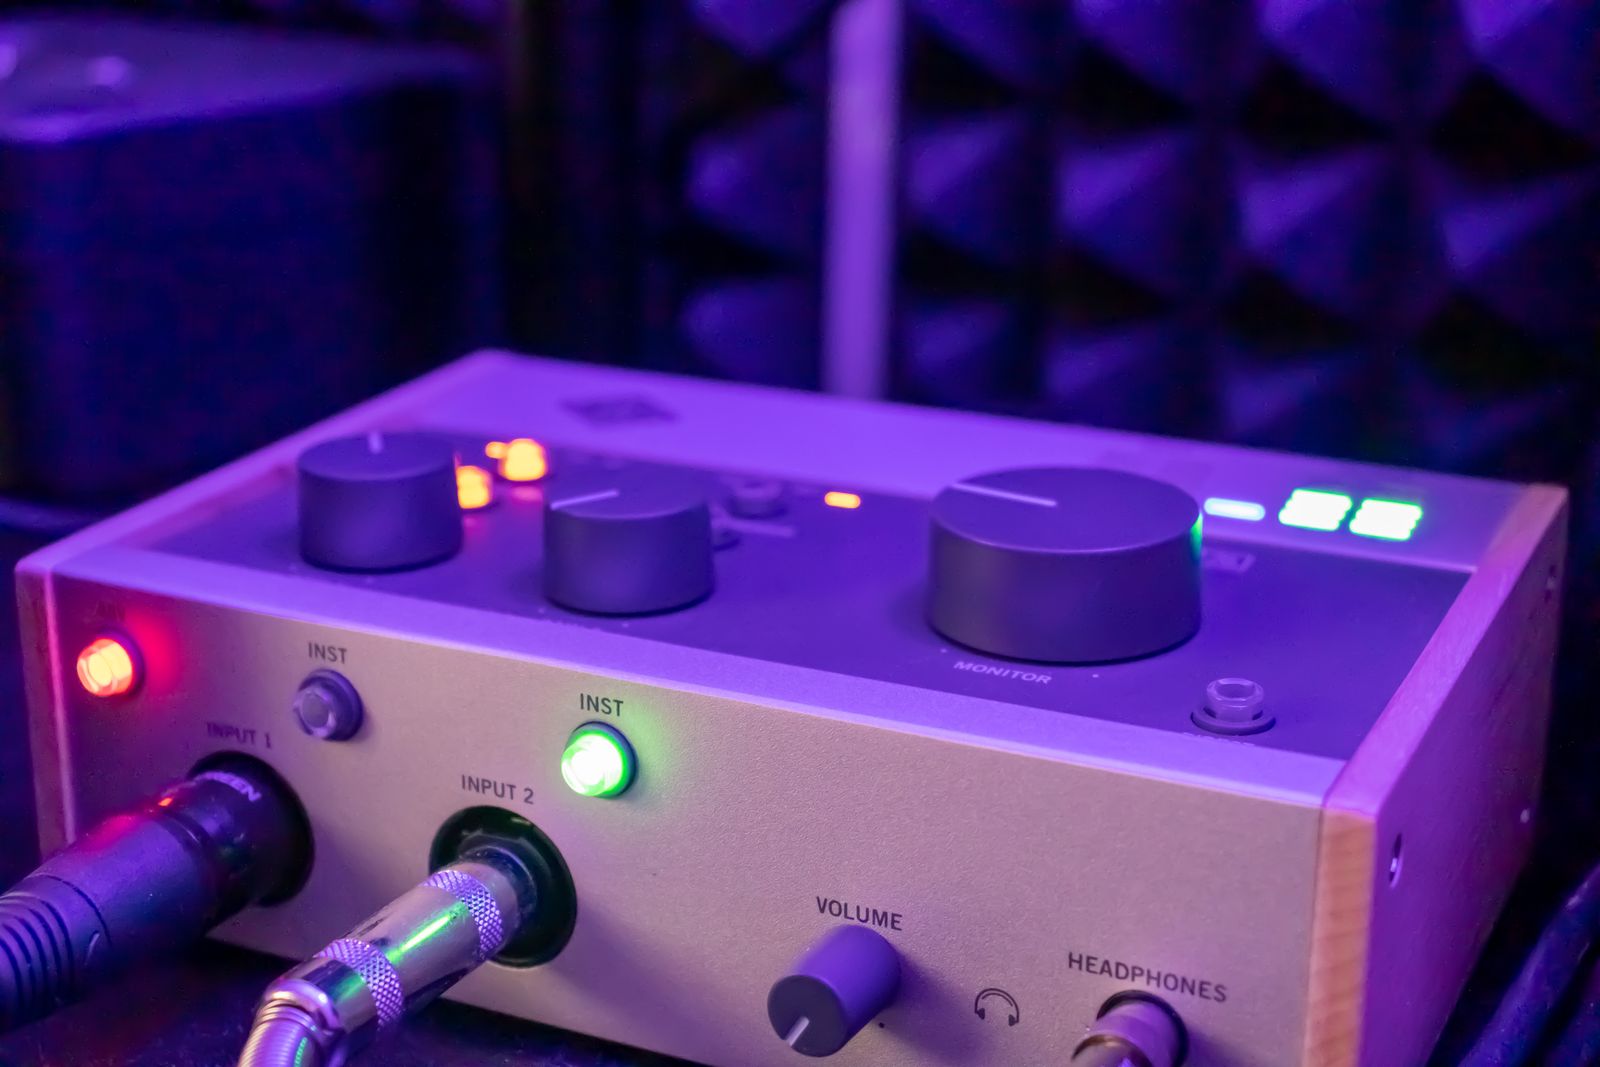
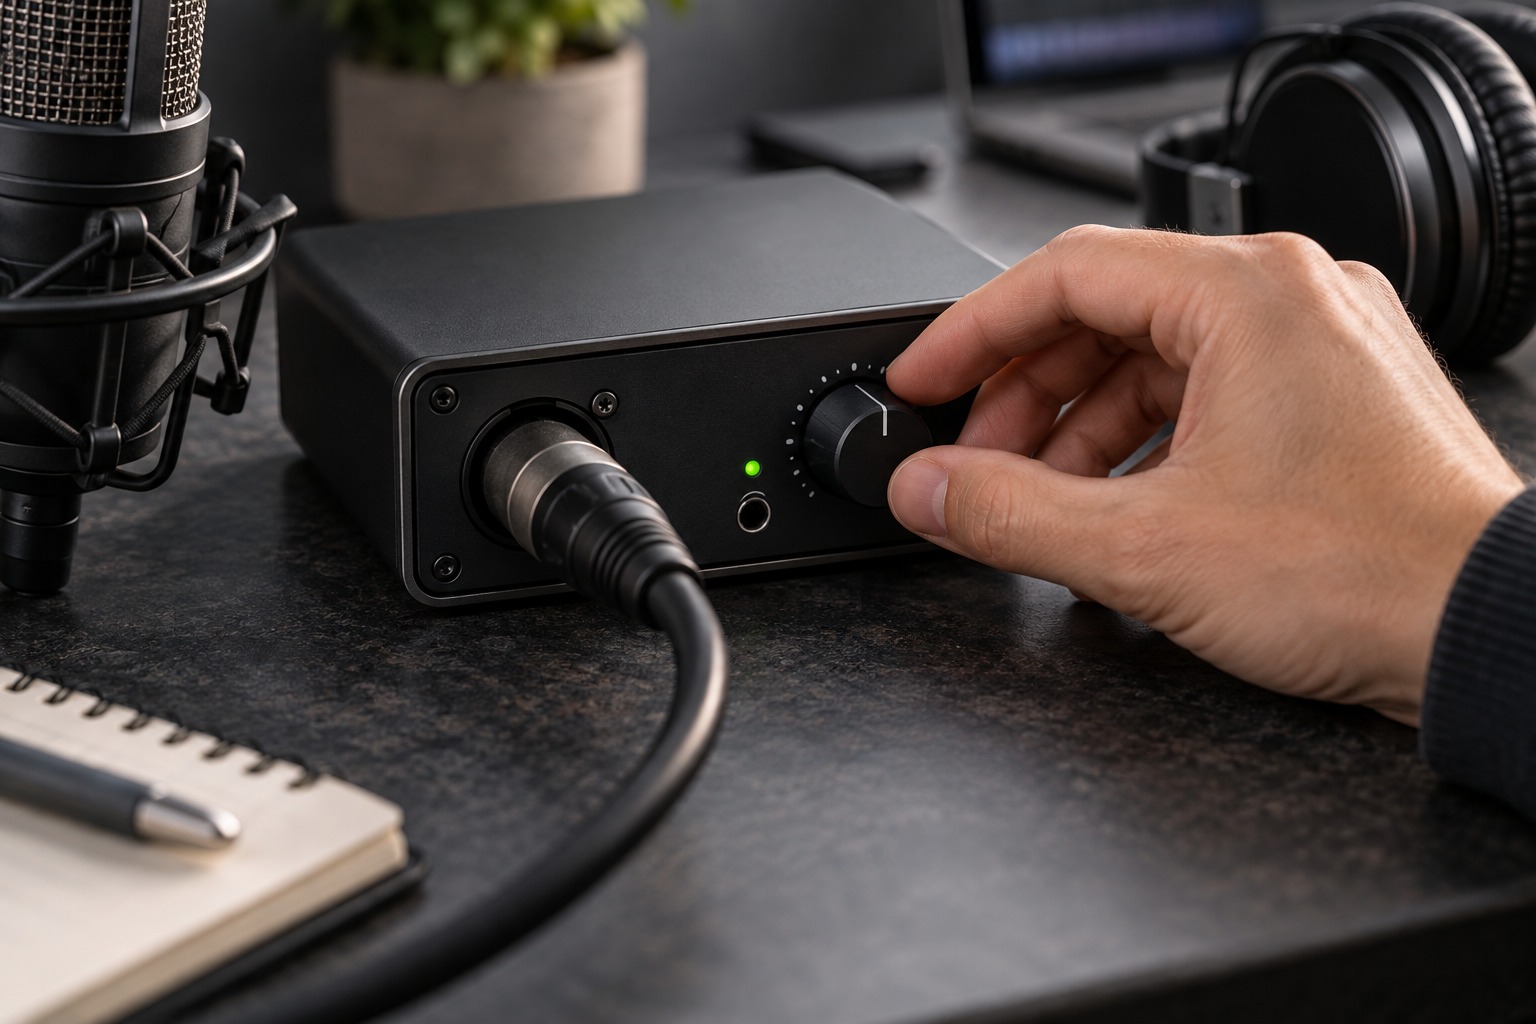
Connect each microphone to its own suitable input and name the tracks by position or role. Check that the recording application receives two independent channels rather than duplicating one input. Set appropriate gain on both channels during the loudest expected passage, and keep a note of the settings without assuming identical knob positions guarantee identical recorded levels.
Use stable mounts and leave enough clearance that the microphones do not touch. A stereo bar can simplify some arrangements, but its load and spacing must suit the microphones. Secure cables so they do not rotate a small microphone after you have carefully set its angle.
Listen in stereo and in mono
Record the same passage and listen for a believable center, useful width, and any distracting imbalance. Then check the combined result in mono using the recording application’s monitoring controls. If important parts become unexpectedly weak or hollow, reconsider the microphone relationship rather than immediately adding equalization to both tracks.
Move one element at a time and label the takes. A small positional change can be more informative than collecting many unmarked experiments. Keep the performer in a consistent place during the comparison. The stereo technique describes a starting geometry; the source, room, and intended mix still determine whether it is useful.
Save the arrangement, not only the audio
Photograph the microphone positions and note approximate distances, angles, patterns, and track assignments. Include the performer’s location so the setup can be reproduced. If the stereo version does not improve the arrangement, keep the simpler mono approach. A deliberate single microphone is preferable to two channels whose interaction has not been checked.
Use a comparison sheet
Give each test a simple name that describes the arrangement, such as XY-close or XY-farther, and note which microphone feeds each channel. Include whether the pair was centered on the instrument or the ensemble. Play the same passage for every test and keep an untouched copy of each recording. This prevents a later processing change from being mistaken for a microphone-placement difference.
When listening back, answer three concrete questions: is the intended subject centered, does the width suit the arrangement, and does the mono version retain the important musical information? A very wide image can be entertaining on its own while being awkward under a centered vocal. Evaluate the recording in the kind of mix it will actually inhabit, not only as an isolated demonstration of stereo width.